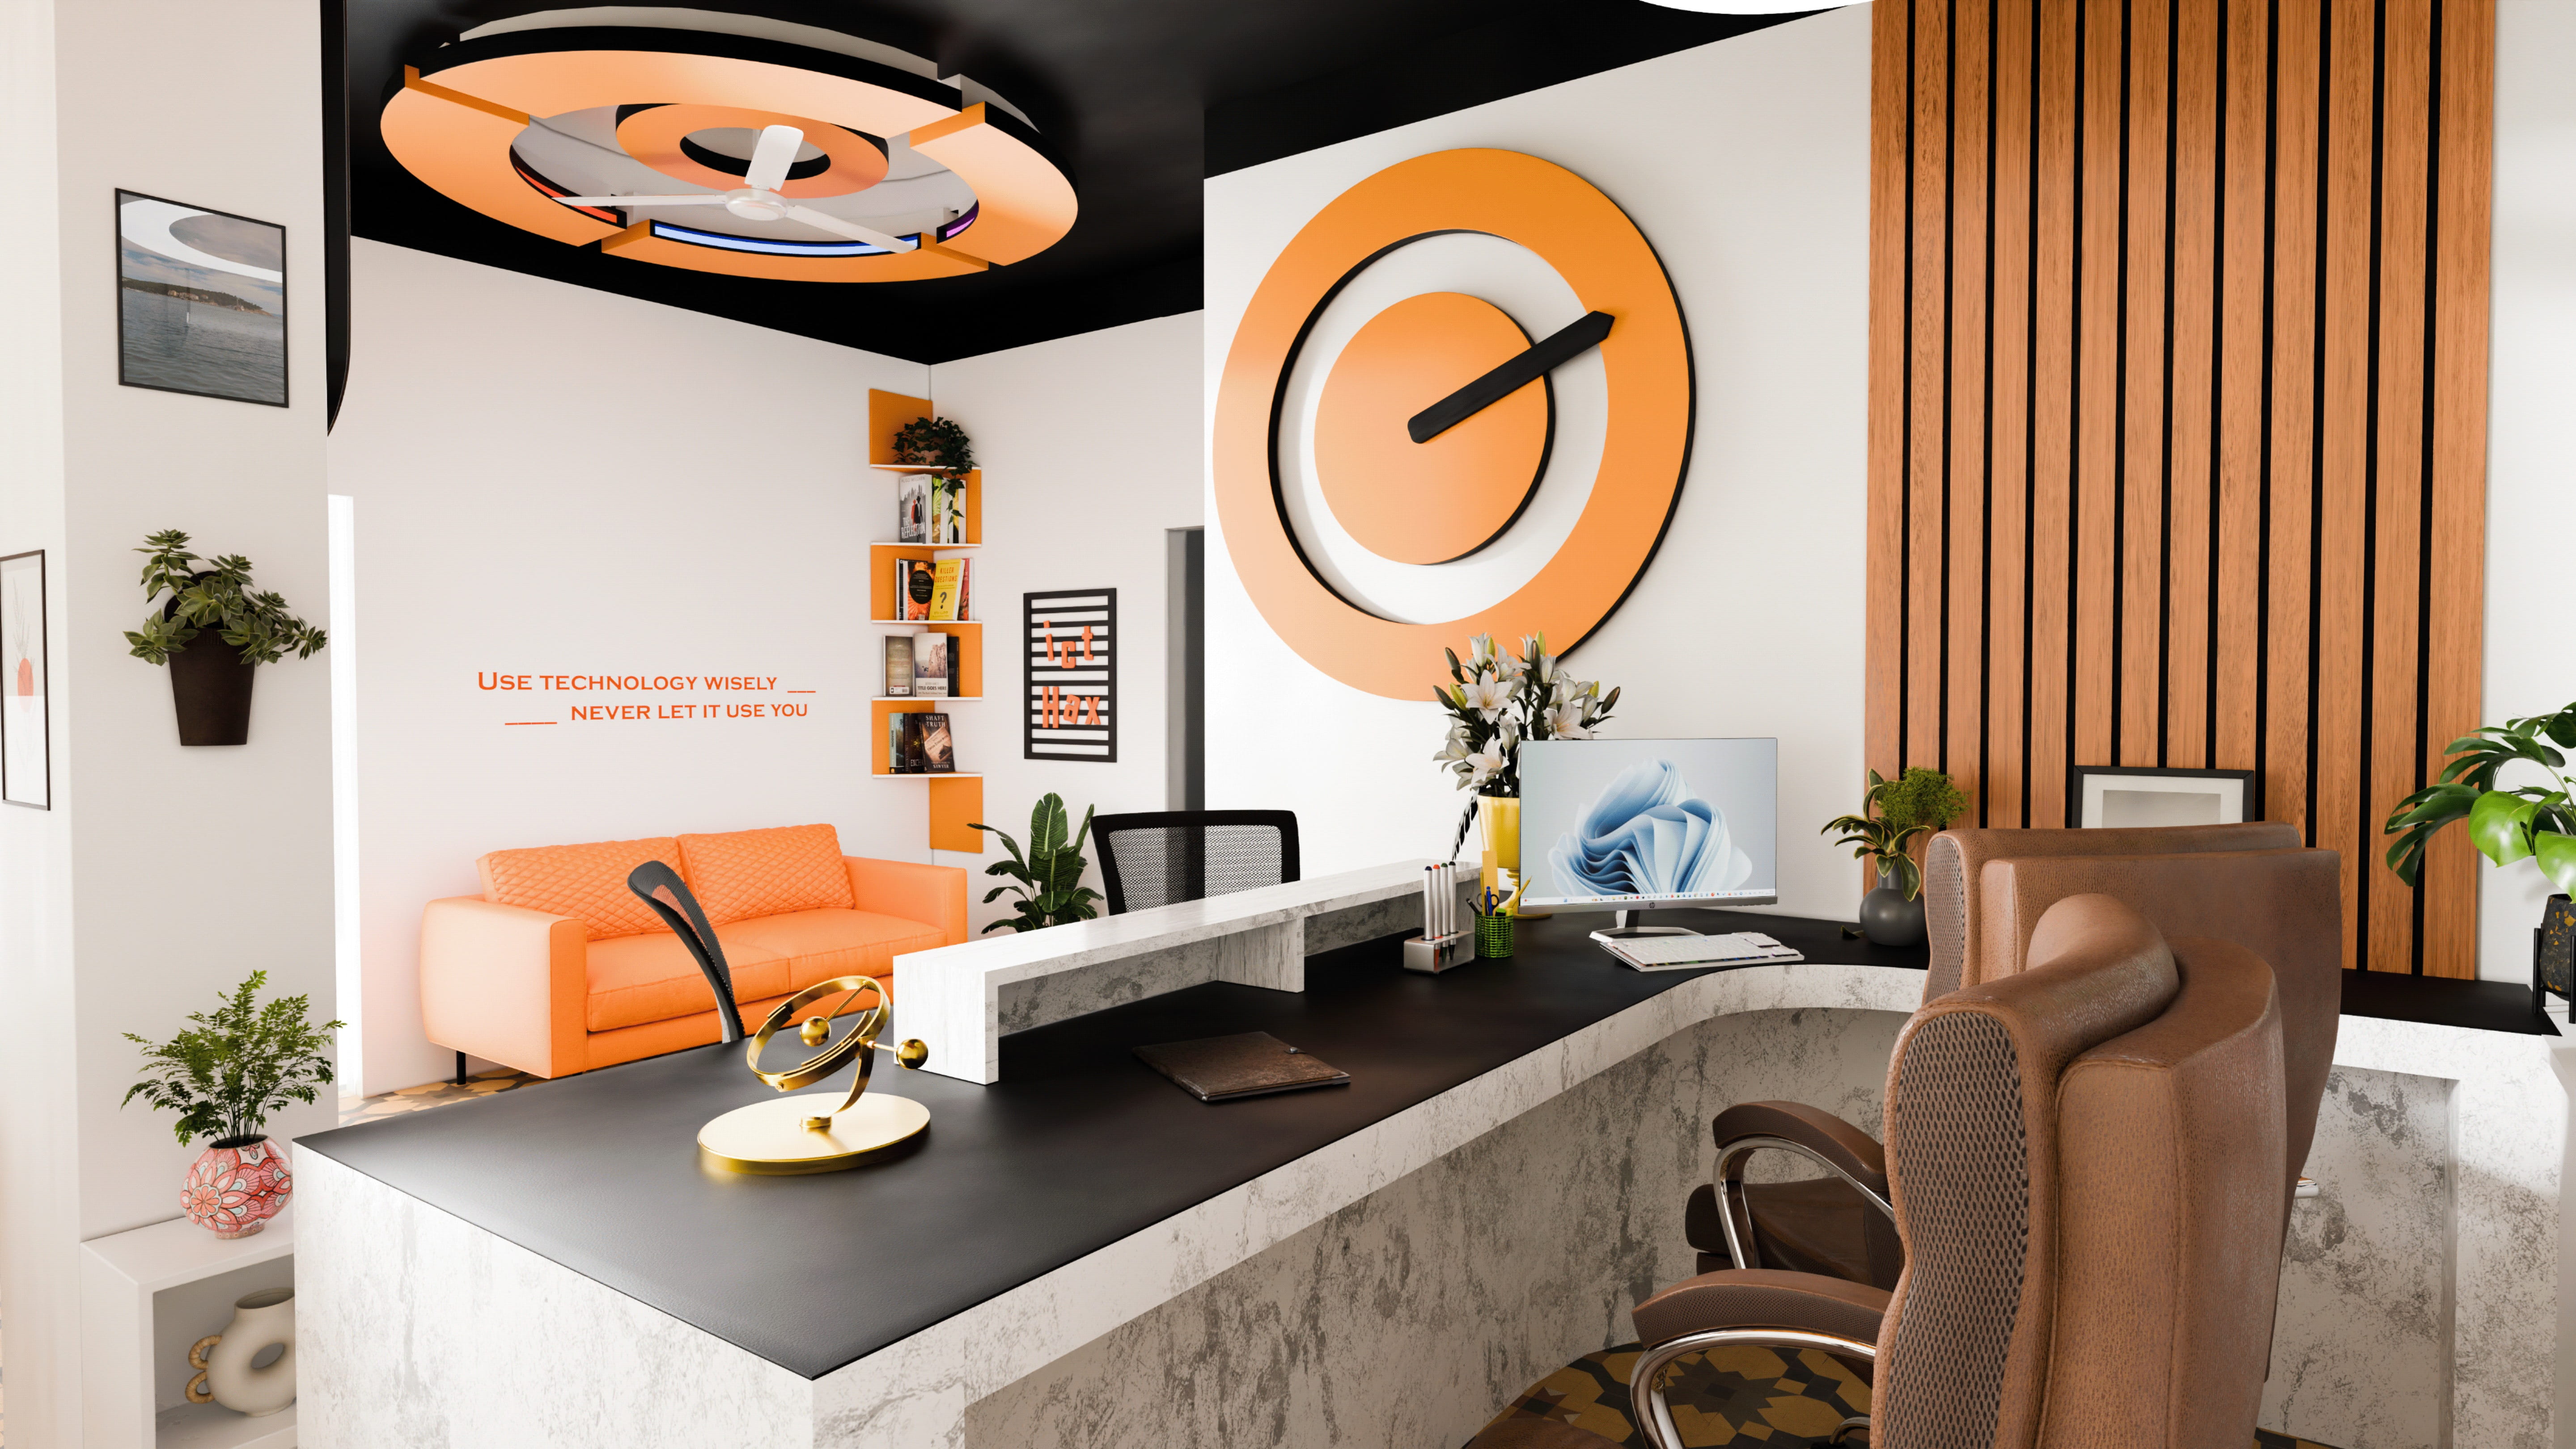
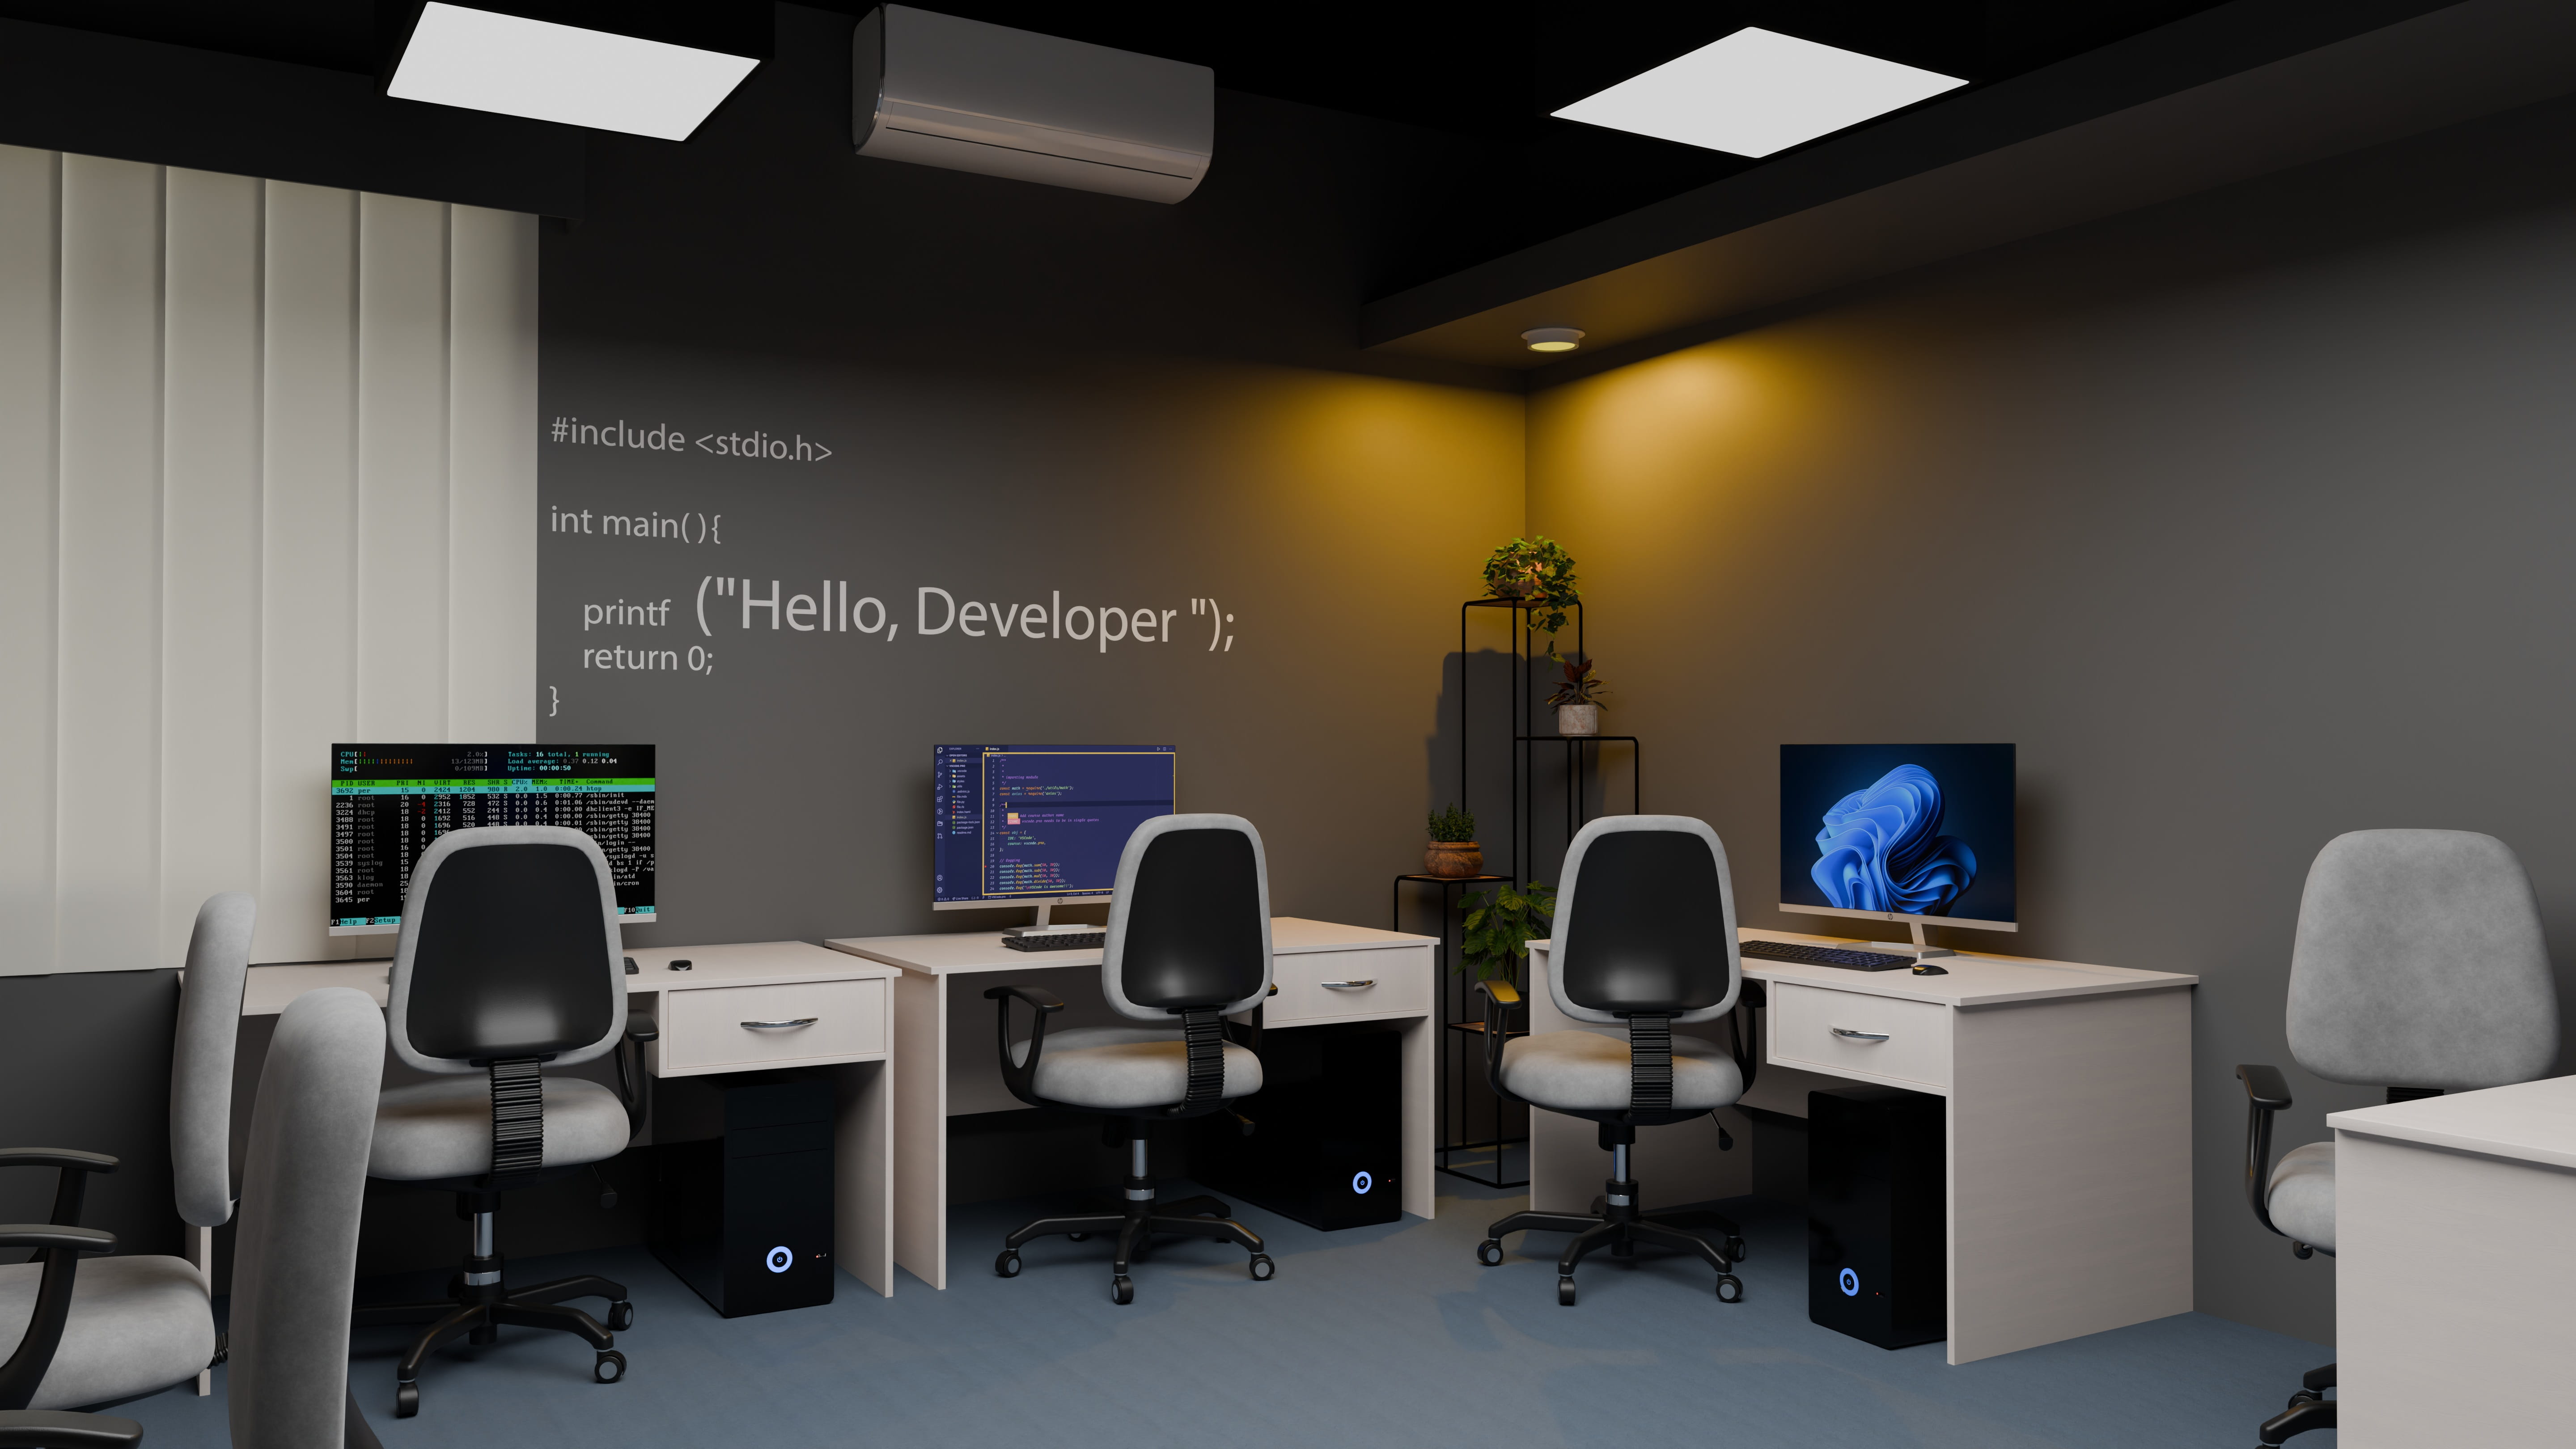
I turn floor plans, sketches, and reference photos into 3D interiors in Blender. I model everything from the room layout to the furniture and fixtures, then add materials and lighting to show how the finished space will look. I also create animated walkthroughs that let you see the interior at eye level and get a feel for how the rooms connect.
Interior Modeling & Animation Process
-
Review the plans and references
I start with the floor plan, measurements, and reference images. I confirm which rooms to show, what finishes to match, and whether the project calls for still renders, a walkthrough, or both.
-
Build the space to scale
I block out the walls, doors, windows, and main furniture in Blender. I check the proportions and furniture spacing, then view the space at eye level to see how the rooms connect.
-
Model the furniture and fixtures
Once the layout is set, I build the cabinetry, furniture, and fixtures. I add details like upholstery seams, drawer handles, and beveled edges where they’ll be visible in close-ups.
-
Set up materials and lighting
I match the finishes to the references, paying attention to details like the scale of the wood grain and the sheen on a countertop. I set up daylight and interior lights to show how those surfaces look in the finished space.
-
Animate the walkthrough
I plan where the camera enters, turns, and pauses. I test the route in a quick preview to check that it clears doorways, turns smoothly, and gives viewers enough time to look around each room.
-
Review and deliver
I share preview images or a draft walkthrough for feedback. After revisions, I render the approved shots and export the final images or video in the agreed sizes and formats.