3D Product Visualization
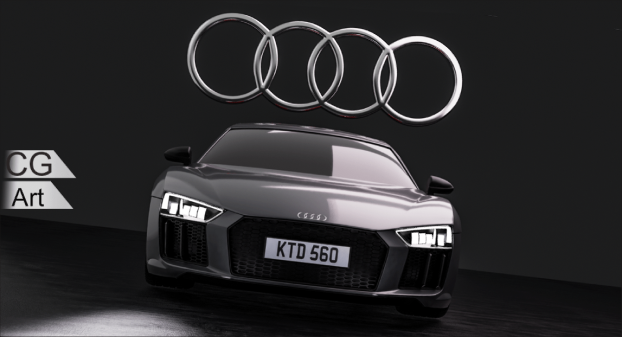
Add your paired product images to the assets folder.
Process I Follow
I start with the available photos, sketches, measurements, or CAD files. I confirm the dimensions, finishes, and branding, then decide which views will show the product most clearly.
I model the product to scale or prepare the supplied CAD geometry for rendering. I pay attention to details like the gap between two parts, the shape of a button, and the bevel on an edge. Those details make a difference in close-ups.
I match the colors and surface finishes to the references. I adjust the texture and roughness so brushed metal, glass, and matte plastic respond to light as expected. I place logos and labels where they appear on the actual product.
I position lights so the reflections bring out the product’s shape. I choose a main angle that shows the overall form and use close-ups for features that need a closer look.
I compare preview renders with the references and check that details like labels stay readable at the final image size. After revisions, I export the approved views in the sizes and formats needed for the project.